
Procreate Magic Trick - iPad Lettering Tutorial
Want to impress your friends with a magic trick, but don’t know any? Well... I don‘t either...
But I do know Procreate... and how to create some stunning illusions just like this one:
I know, rule Nr 1 of magic is to never reveal your secrets, but where would the fun be in that?
It‘s actually quite simple and only takes a few steps.
You can either start with a fresh canvas or download my procreate file:
Watch the video or read the blog post going through everything step by step.
LETS GET STARTED
STEP 1 - THE PERFECT PHOTO
For this, the perfect photo needs three ingredients:
An object in the foreground (skylines are awesome)
A background where your illustration will stand out. (nothing to noisy)
A reflection
My favorite place to get the best quality free photos from is www.unsplash.com
That’s where I found the photo I’m using in this tutorial.

This photo has all three ingredients.
The skyline which acts as an object in the foreground.
The colors of the sunset sky will allow that our lettering in white will stand out nicely.
The clear reflection of the water puddle will give the trick an additional wow effect.
FUN FACT: I actually used to live in this city for 1.5 years. And I miss it. So shout out to all my Australian Legends! Let me know in the comments below where you are watching this from and if you also have such a beautiful skyline?
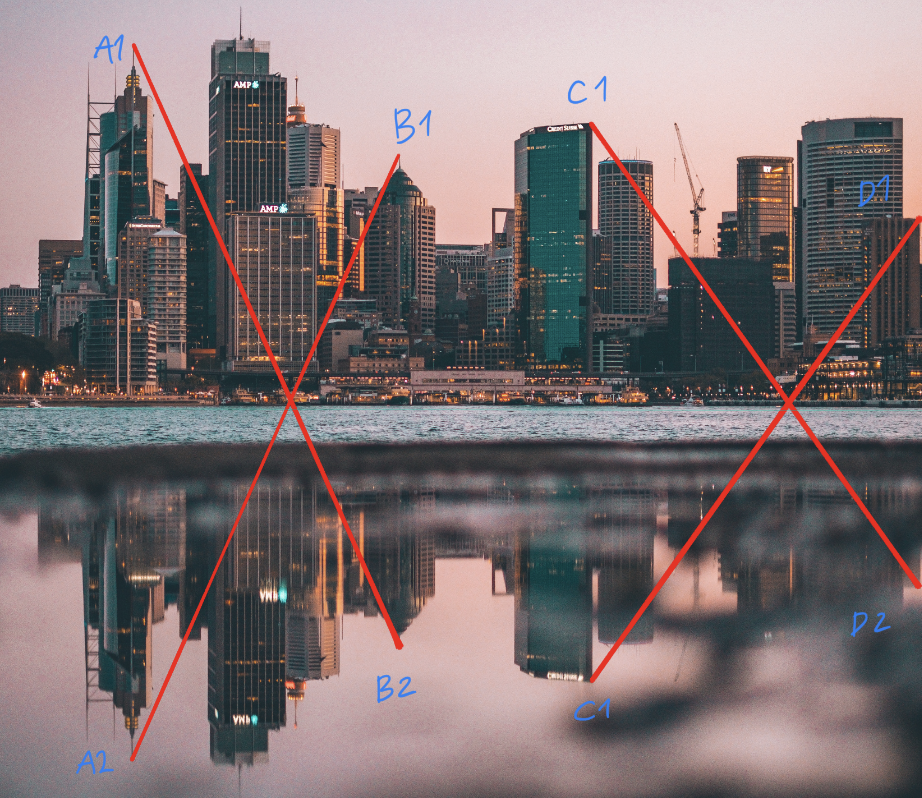
STEP 2 - FINDING THE SYMMETRY LINE
Odd long title name... Didn‘t know how else to call it but it’s an important one. Here‘s a quick trick I‘ve concocted to easily find the symmetry line:
connect two distinct points and their reflection counterpart (creating an X). Do this twice and then the line that goes through the center of the X is your Symmetry line.
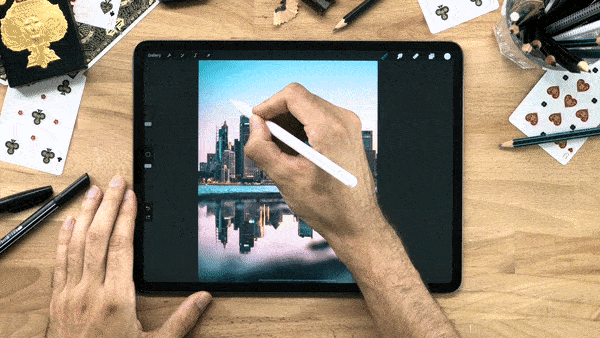
STEP 3 - DRAWING ASSIST (Symmetry Tool)
To create the mirror effect, we‘re making use of the symmetry function. This will magically trace your line at two places at the same time (when the drawing assist is on)
GO TO: ACTIONS (wrench tool) / Canvas / Drawing Guide
Then tap on Edit Drawing Guide. Select Symmetry.
And place the symmetry tool at the center of the two X‘s.

STEP 4 - CUT OUT THE SKYLINE
Since our trick relies not only on the mirror effect but on how the line magically hides behind the object or in this case the buildings of the skyline, we need to cut this out from the image and overlay it.
I want the lettering to go through the building, adding a little extra wow. Therefor select only a few of the buildings that are right by the water.

Up next, I’ll carefully trace the buildings and draw out the shape.
Duplicate the layer and flip it (using the transform tool)
Finally cover some of the spots in the puddle.
Now that we have pretty good shape, I’ll Tap on the layer and tap select.
This will select the surface of the shape we just filled out.

Now tap on the layer with the image. press and hold select to bring back the selection menu and tap on “copy&paste”. This will create a new layer with the selected buildings:

STEP 5 - SHADOWS
To make it pop just a bit more, we’ll add shadows:
Change the color to black, duplicate the shape layer, and turn on alpha lock by swiping left with two fingers. Tap on fill layer. Turn Alpha lock off by swiping again with two fingers. Go to adjustments and select gaussian blur. 10% (depends on your canvas size). should be fine for this project here.
STEP 6 - THE SETUP
Like any good magic trick preparation is key, In this step, we’ll place all the layers in the right order and make sure you are all set for the big moment.
Let’s start from the back:
Layer 1 - Background image.
Layer 2 - Empty Layer (this one you’ll need to create) this is where you’ll draw in. Turn on Drawing Assist.
Layer 3 - Shadow Layer (turn on clipping mask, to affect layer 2)
Layer 4 - Skyline cut out.
STEP 7 - FINAL PERFORMANCE
I remember shooting the original clip around 50+ times.
A good performance just takes a lot of practice.
Don’t sweat it if you don’t get it right away. The most important part is to have fun.
I also like to experiment with a few different brushes.
I don’t often use calligraphy brushes in my work except for these type of magic tricks or performances.
Here’s a pack I always love to recommend:

BONUS
I’ve been playing around with a few other scenes as well. Try it out yourself.
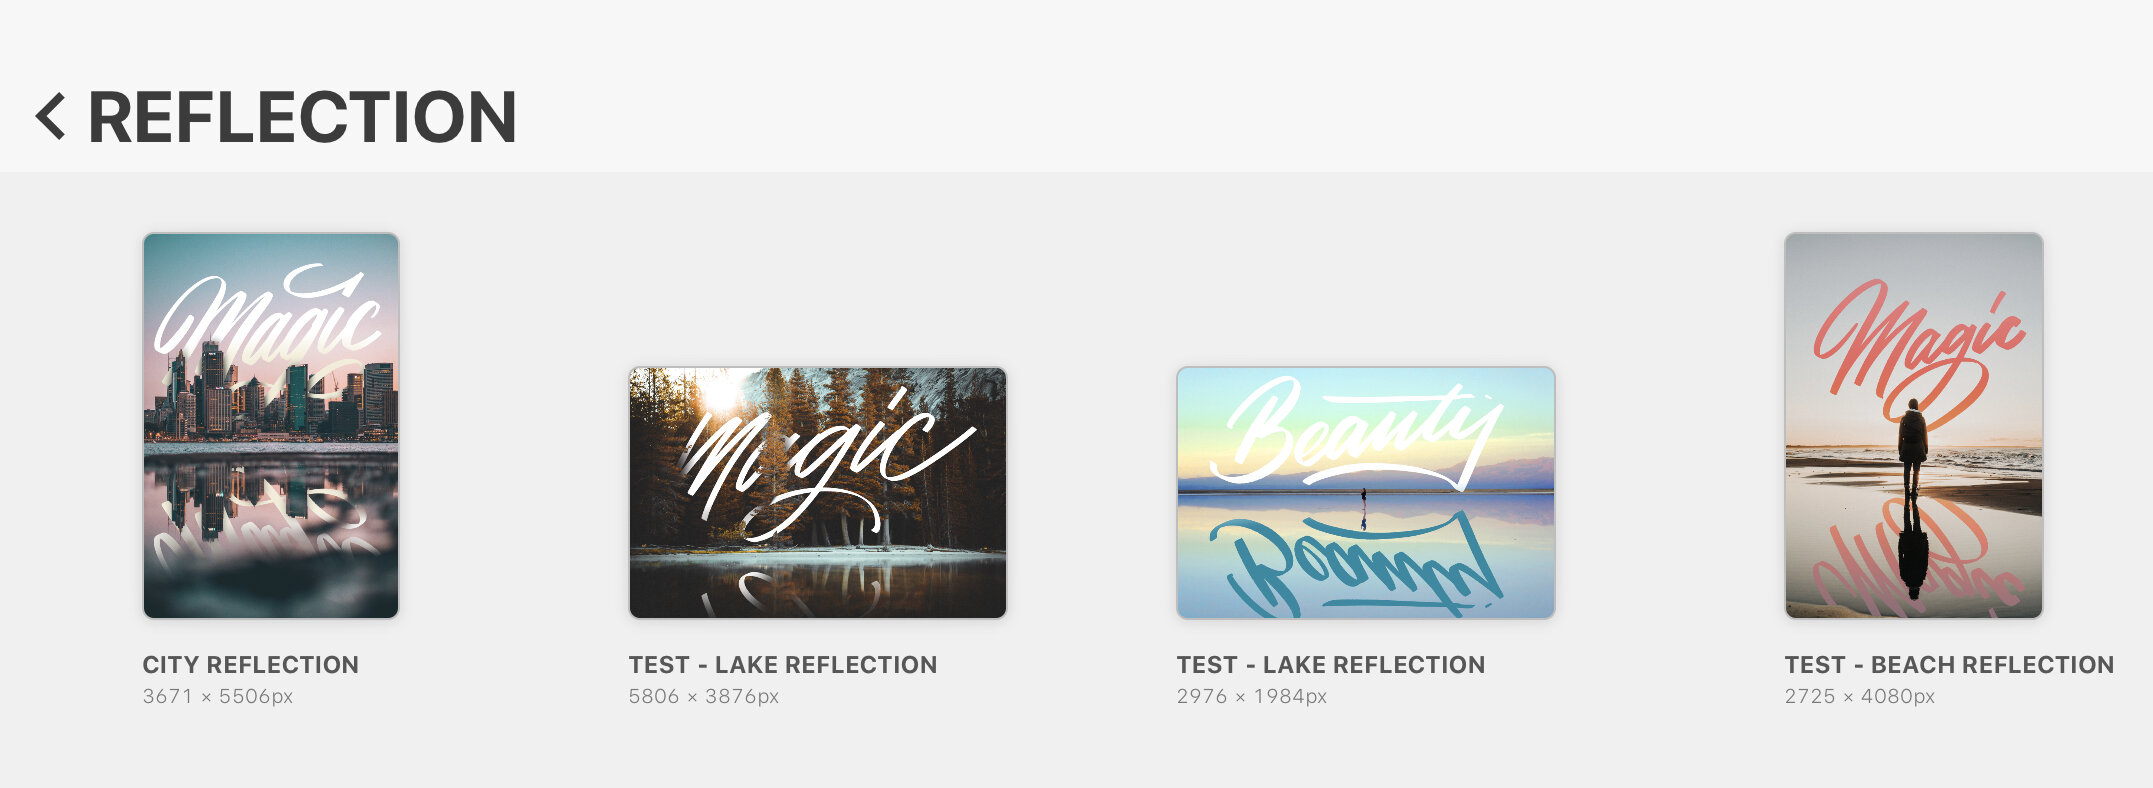
Can’t wait to see what you come up with!
WANT TO LEARN MORE ABOUT LETTERING?
if you want to learn more about lettering, check out my two new online courses, building letters 101 and the composition masterclass. Available with Spanish subtitles and German and Portuguese are.